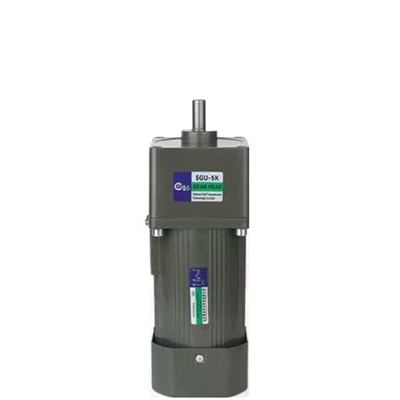
Installing an inverter duty motor is a task that requires careful planning, precision, and adherence to safety protocols. As a trusted inverter duty motor supplier, I understand the importance of providing clear guidance on this process. In this blog post, I'll walk you through the step-by-step procedure of installing an inverter duty motor, ensuring that you can complete the task safely and effectively.
Step 1: Preparation
Before you begin the installation process, it's crucial to gather all the necessary tools and equipment. You'll need a set of wrenches, screwdrivers, a torque wrench, a multimeter, and safety gear such as gloves and safety glasses. Additionally, make sure you have the motor's installation manual on hand, as it will provide specific instructions and torque specifications for your particular model.
Next, inspect the motor and the installation site for any signs of damage or debris. Check the motor's nameplate to verify its specifications, including voltage, horsepower, and frame size. Ensure that the installation site is clean, dry, and well-ventilated, and that there is enough space around the motor for proper maintenance and cooling.
Step 2: Mounting the Motor
The first step in mounting the motor is to position it on the base or frame where it will be installed. Use a level to ensure that the motor is perfectly horizontal and aligned with the shaft of the driven equipment. Once the motor is in position, mark the mounting holes on the base or frame using a pencil or marker.
Drill the mounting holes according to the specifications provided in the motor's installation manual. Make sure the holes are the correct size and depth, and that they are spaced evenly to ensure a secure fit. Insert the mounting bolts through the holes in the motor and the base or frame, and tighten them using a torque wrench to the specified torque value.
Step 3: Connecting the Motor to the Driven Equipment
After mounting the motor, the next step is to connect it to the driven equipment. This typically involves coupling the motor shaft to the shaft of the driven equipment using a flexible coupling. Flexible couplings are designed to compensate for misalignment between the motor and the driven equipment, reducing vibration and wear on the motor and the coupling.
Before installing the coupling, clean the motor shaft and the shaft of the driven equipment to remove any dirt or debris. Apply a small amount of lubricant to the shaft surfaces to ensure a smooth fit. Slide the coupling halves onto the shafts, making sure they are properly aligned and seated. Tighten the set screws on the coupling using a torque wrench to the specified torque value.
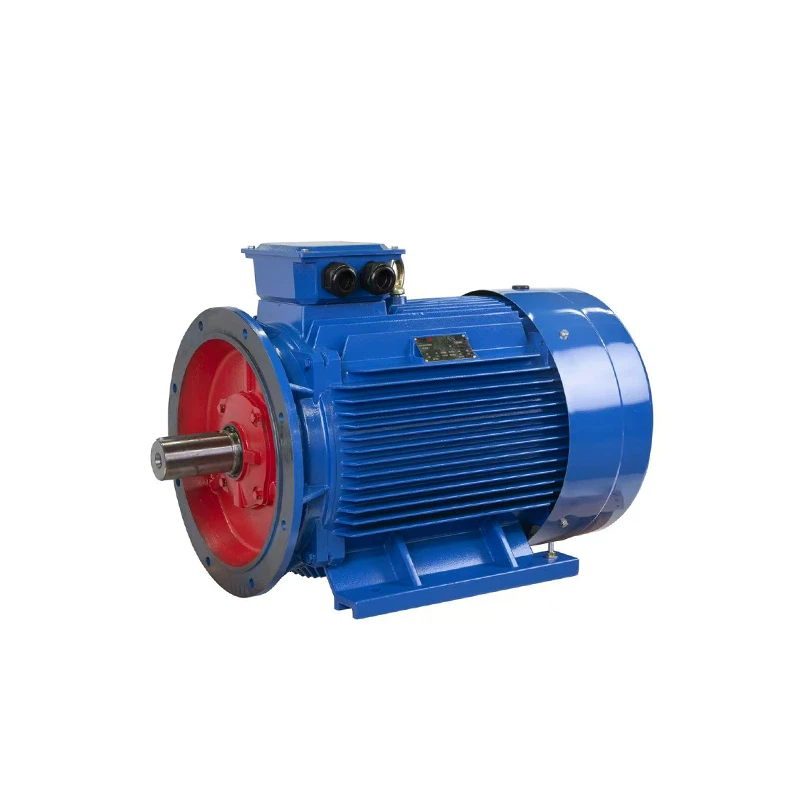

Step 4: Wiring the Motor
Wiring the motor is a critical step in the installation process, as improper wiring can lead to electrical hazards and motor damage. Before wiring the motor, make sure the power supply is turned off and that the motor is properly grounded.
Refer to the motor's wiring diagram, which is typically provided in the installation manual, to determine the correct wiring configuration for your motor. The wiring diagram will show you how to connect the motor's leads to the power supply and the inverter. Make sure you use the correct gauge of wire and that all connections are tight and secure.
Once the wiring is complete, use a multimeter to check the continuity and insulation resistance of the motor windings. This will help you ensure that the motor is properly wired and that there are no electrical faults.
Step 5: Installing the Inverter
The inverter is an essential component of an inverter duty motor system, as it controls the speed and torque of the motor. Before installing the inverter, make sure it is compatible with the motor and the power supply. Refer to the inverter's installation manual for specific instructions on how to install and configure the inverter.
Mount the inverter on a suitable surface near the motor, making sure it is well-ventilated and protected from dust and moisture. Connect the inverter to the power supply and the motor according to the wiring diagram provided in the inverter's installation manual. Make sure all connections are tight and secure, and that the inverter is properly grounded.
Step 6: Programming the Inverter
After installing the inverter, the next step is to program it to control the motor. This typically involves setting the inverter's parameters, such as the motor's rated voltage, frequency, and speed. Refer to the inverter's programming manual for specific instructions on how to program the inverter.
It's important to note that programming the inverter requires a certain level of technical expertise. If you're not familiar with inverter programming, it's recommended that you consult with a qualified electrician or technician.
Step 7: Testing the Motor
Once the motor and the inverter are installed and programmed, the final step is to test the motor to ensure that it is operating properly. Before testing the motor, make sure all safety guards are in place and that the area around the motor is clear of any obstacles.
Turn on the power supply and the inverter, and gradually increase the speed of the motor using the inverter's control panel. Monitor the motor's performance, including its speed, torque, and temperature, to ensure that it is operating within the specified parameters. If you notice any abnormal noise, vibration, or overheating, turn off the motor immediately and check for any problems.
Step 8: Maintenance and Troubleshooting
After the motor is installed and tested, it's important to perform regular maintenance to ensure its long-term reliability and performance. This includes checking the motor's lubrication levels, inspecting the coupling and the belts for wear and damage, and cleaning the motor and the inverter to remove any dirt or debris.
If you encounter any problems with the motor or the inverter, refer to the troubleshooting section of the motor's installation manual or the inverter's programming manual. These manuals will provide you with step-by-step instructions on how to diagnose and fix common problems.
Conclusion
Installing an inverter duty motor is a complex task that requires careful planning, precision, and adherence to safety protocols. By following the steps outlined in this blog post, you can ensure that your motor is installed correctly and that it operates safely and efficiently.
As a leading Inverter Duty Motor Supplier, we offer a wide range of high-quality inverter duty motors, including IE1 Three Phase Motor, Aluminium Electric Motor, and Cast Iron Three Phase Motor. Our motors are designed to meet the highest standards of quality and performance, and we offer comprehensive technical support and after-sales service to ensure your satisfaction.
If you have any questions or need assistance with installing an inverter duty motor, please don't hesitate to contact us. Our team of experts is always available to help you with your motor installation and maintenance needs.
References
- Motor Installation Manual
- Inverter Programming Manual
- Electrical Safety Standards and Guidelines