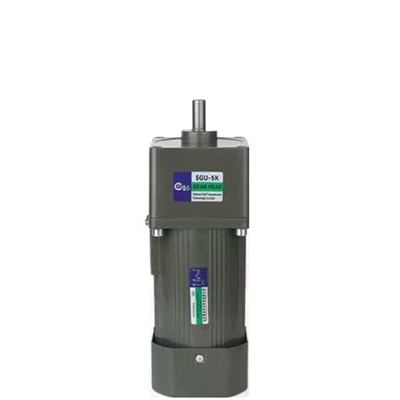
As a supplier of 220V AC Gear Motors, I understand the importance of securely mounting these motors to ensure their optimal performance and longevity. In this blog post, I will share some essential tips and guidelines on how to mount a 220V AC Gear Motor securely.
Understanding the Basics of 220V AC Gear Motors
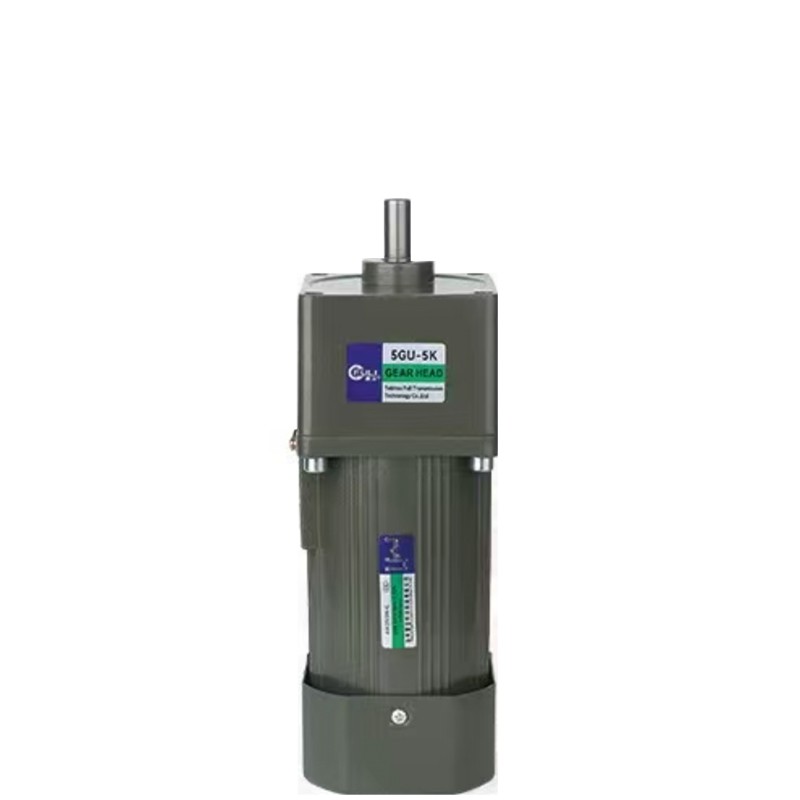
Before we delve into the mounting process, let's briefly understand what a 220V AC Gear Motor is. A 220V AC Gear Motor is an electric motor that operates on a 220-volt alternating current (AC) power supply. It is equipped with a gearbox, which reduces the motor's speed and increases its torque, making it suitable for various applications, such as conveyor systems, industrial machinery, and automation equipment.
Preparing for Mounting
The first step in mounting a 220V AC Gear Motor securely is to prepare the necessary tools and equipment. You will need a drill, drill bits, wrenches, bolts, nuts, washers, and a mounting bracket. Make sure to choose the right size and type of bolts and nuts for your motor and mounting surface.

Next, you need to select a suitable mounting location for your motor. The location should be flat, stable, and free from vibrations and excessive heat. It should also provide easy access to the motor for maintenance and troubleshooting.
Mounting the Motor
Once you have prepared the tools and selected the mounting location, you can start mounting the motor. Follow these steps:
- Position the Mounting Bracket: Place the mounting bracket on the mounting surface and align it with the holes on the motor's base. Use a level to ensure that the bracket is perfectly horizontal or vertical, depending on the motor's orientation.
- Drill Holes: Use a drill to make holes in the mounting surface at the locations marked by the holes on the mounting bracket. Make sure the holes are the correct size for the bolts you will be using.
- Insert Bolts: Insert the bolts through the holes in the mounting bracket and into the holes in the mounting surface. Place a washer on each bolt, followed by a nut. Tighten the nuts using a wrench, but do not overtighten them, as this can damage the motor or the mounting surface.
- Attach the Motor: Place the motor on the mounting bracket and align it with the holes in the bracket. Insert bolts through the holes in the motor's base and into the holes in the mounting bracket. Place a washer on each bolt, followed by a nut. Tighten the nuts using a wrench, but do not overtighten them.
- Connect the Wires: Connect the motor's wires to the power supply and any control devices, such as switches or relays. Make sure the connections are secure and insulated to prevent electrical shocks and short circuits.
Securing the Motor
After mounting the motor, you need to secure it to prevent it from moving or vibrating during operation. Follow these tips:
- Use Lock Washers: Place lock washers on the bolts to prevent them from loosening due to vibrations. Lock washers have teeth or ridges that grip the bolt and the nut, providing extra security.
- Apply Thread Locking Compound: Apply a thread locking compound to the bolts to prevent them from loosening due to vibrations. Thread locking compound is a liquid that hardens when it comes into contact with metal, creating a strong bond between the bolt and the nut.
- Check for Tightness: Periodically check the tightness of the bolts and nuts to ensure that they are still secure. If you notice any loose bolts or nuts, tighten them immediately.
Testing the Motor
Once you have mounted and secured the motor, you need to test it to ensure that it is working properly. Follow these steps:
- Check the Power Supply: Make sure the power supply is turned off before testing the motor. Check the voltage and frequency of the power supply to ensure that it matches the motor's specifications.
- Inspect the Wires: Inspect the motor's wires to ensure that they are properly connected and insulated. Look for any signs of damage or wear, such as frayed wires or loose connections.
- Turn on the Power Supply: Turn on the power supply and check the motor's operation. Listen for any unusual noises or vibrations, and check the motor's speed and torque. If the motor is not working properly, turn off the power supply immediately and troubleshoot the problem.
Conclusion
Mounting a 220V AC Gear Motor securely is essential for its optimal performance and longevity. By following the tips and guidelines outlined in this blog post, you can ensure that your motor is mounted correctly and securely. Remember to choose the right mounting location, use the correct tools and equipment, and follow the manufacturer's instructions for mounting and wiring your motor.
If you have any questions or need further assistance with mounting a 220V AC Gear Motor, please feel free to contact us. We are a leading supplier of 220V AC Gear Motor, Worm Gear Reduction Motor, and 200W AC Gear Motor, and we are committed to providing our customers with high-quality products and excellent customer service.
References
- Manufacturer's instructions for your specific 220V AC Gear Motor
- Electrical safety standards and guidelines
- Machinery installation and maintenance manuals